As a qualified horticulturist, soil scientist, and all-round know-it-all when it comes to plants, I am generally asked how to grow things, rather than how to kill them. But, of late, I have noticed a shift. My inbox is full of requests on how to kill an Aussie icon… the lawn. Now, normally I would be disturbed by green-thumbs turning brown, but not in this circumstance. Now, before you get on the blower and let me know that killing plants is wrong, let me explain.
The bulk of lawns, with a couple of excellent environmentally exquisite exceptions, are a monocultural monolith of foreign grass species. Contrary to popular belief, lawns are not low/no maintenance……in fact, most lawns require significant inputs (water, fertilizers, and herbicides, pesticides) to remain even vaguely appealing, not to mention the amount of time, effort and cold hard cash that can go into keeping turf tops! So, if you reckon it’s time to ditch the pitch sustainably, read on.
Turf the Turf – Without Chemicals (of course)
Alright, so you’ve decided to remove the lawn, but don’t know where to start. Well, firstly, don’t reach for those chemicals. Yes, it may be quicker to spray and walk away, but think of the environmental impact of your actions. Heaps of herbicides can do hideous things to frogs, lizards, soil organisms and the soil itself, not to mention non-target plants, and, to be perfectly frank, you don’t really need them in this circumstance.
So, what exactly do you need to set about removing your lawn? Firstly, you need patience… lawn removal doesn’t happen overnight, but, I promise you, it will happen! Secondly, you need newspaper (or thickish cardboard), water, compost and mulch (I reckon straw based is the best). Thirdly, you need to check the weather. If it’s windy outside, retreat to the shed (or the pub) and do something else for the day… newspaper + wind = very annoyed neighbours and a paper covered suburb (trust me, I share this from experience). Now, let’s begin!
1. Grab your newspaper, remove any glossy magazines or inserts, wet it down, and cover the lawn area. The newspaper needs to be at least 15 pages thick, but, to be honest, the thicker the better. Essentially, you want the paper to break down nice and slowly over time. If using cardboard, remove any stray bits of packing tape and sticky tape, cut boxes flat, and lay this directly onto the area you wish to kill.
2. It is really important to make sure the edges of your newspaper/cardboard overlap. I reckon about 10cm is good, as this stops cheeky little weeds and persistent grasses peeking out between the gaps. Now it’s time to cover the paper.
3. If the area is to be planted out in the future, but not immediately, I would suggest applying a nice 5cm layer (or more, if you have it) of compost, followed by a 7cm layer of mulch (go the straw mulch). Essentially, the finished area should look like a “trifle”… a few different layers of goodness to smother your lawn and improve your soil at the same time. But be warned that straw mulch can be blown off or even disturbed by the kids or family dog running across. So another 5cm layer of pine bark mulch on top would help solve this problem. And don’t worry – there’s no such thing as too many layers in this little exercise.
4. If the area is to be planted out immediately, your best bet is to import an appropriate growing media and compost blend (generally three parts soil to one part compost) and cover the paper with this, followed by a nice 7cm layer of straw based mulch. The depth of the soil will vary depending on what you are wanting to plant, but, as a rule, the deeper the better (look at about 20-30cm as a minimum). Avoid importing fill or topsoil, as this gear often comes from unsustainable sources and can be full of weed seed. If in doubt, ask your supplier for the origins of the soil. You can then plant straight into this area.
5. If you are converting the area into a space with no plantings whatsoever (eg: pathways, heavy traffic areas, open spaces) you have a couple of options. As the paper breaks down over time, you may wish to consider an alternative base layer. Now, before you rush out and buy metres of plastic, consider the long term impact of this on soil health. Plastics are not porous, so neither water nor air can reach the soil beneath. This in turn will kill every living creature and micro-organism within the soil and degrade the soil itself. It can also lead to significant issues regarding run-off and ponding of water after irrigations events or rain. A safer option is woven fabric weed matting, which allows for air and water movement, or jute/hessian matting, especially handy if working on steep slopes. Once this has been laid, cover the area with appropriate mulch.

Trouble shooting…
Alright, this is all good and well in theory, but there are a few niggling questions that need addressing. So here they be:
What’s the story with the inks in the newspapers… surely that can’t be good for the soil?
Well, according to the Publishers National Environment Bureau, the inks used to print newspapers and magazines in Australia are completely safe. Black and colour inks have no added heavy metals and contain either vegetable oils produced from crops like soya beans and canola, or non-hazardous mineral oils of very high purity. Most inks actually use a mixture of these two types of oil. Oils comprise about 50% of newspaper ink – the rest is made up of pigment, resins and solvents. In the grand scheme of things, it’s pretty safe… just remember to avoid the glossy and heavily coloured stuff.
Can’t I just use newspaper on its own?
Short answer… no! Newspaper can act as a bit of a wick, and acts to draw water out of the soil rather than keep it in. The most successful way to smother lawns and weeds while improving the soil is to add as much organic matter over the paper/cardboard as possible. It will encourage the worms, and, by the time it has all broken down, you should have a magic, grass free soil, ready to be planted.
What about solarisation?
Solarisation is the process whereby grass, weeds and the like are effectively “cooked” under a sheet of plastic. Solarisation is an excellent way of killing grasses and weeds that have significant soil seed banks, but has the potential to go a bit pear shaped. For starters, there is a bit of discussion regarding the best type of plastic for effective solarisation. Most studies conducted have shown that clear plastic works best, but there are a few pre-conditions.
Firstly, the plants have to be actively growing, so it is important to identify the grass species, and do a bit of research as to its active growing period.
Secondly, solarisation can take upwards of four weeks (of pretty consistent sunlight and fairly decent temperatures), so this is not a quick process.
When laying the plastic, try to minimize the amount of air between the soil and the plastic. You can do this by burying the edges of the plastic, and weighting it down. This increases the heat generated between the plastic and the soil, and will be far more effective.
Now, while solarisation may have its benefits, it also has some problems as well. While it is a great way to kill off any weed seed and nasty pathogens in the soil, the impact of solarisation on soil health and biotic activity is not fantastic, so organic matter should be added at the end of the solarisation period to help “Kick-start” your soil again.
Oh, and for goodness sake, when you remove the plastic, apply mulch or a green manure crop ASAP! This will prevent a recolonisation of grasses and weeds cause, as we all know, grasses and weeds are mad for bare soil.
As far as I am concerned, less lawn to grow is less lawn to mow, but I know this isn’t always a popular opinion. But if, like me, you want to convert lawn space to productive space, this guide should do the trick.
Related Articles:
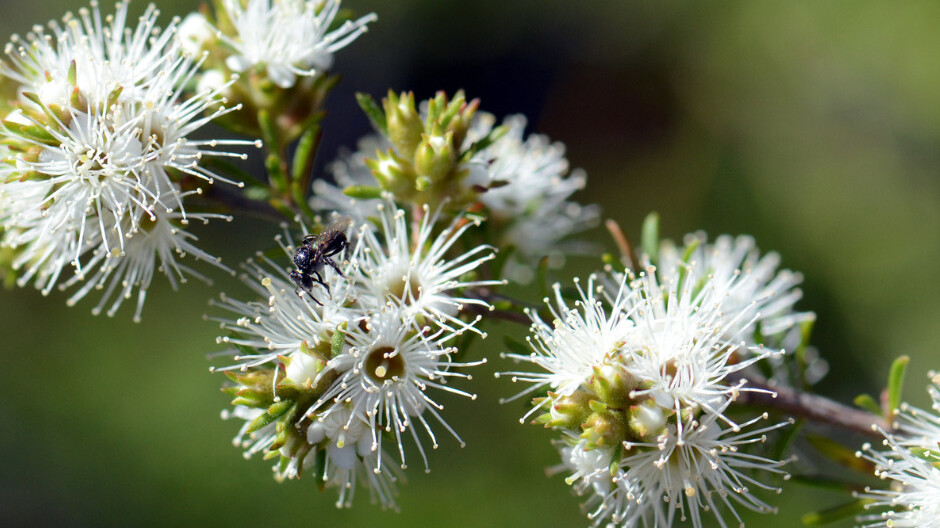
Wildflower gardens – What’s the buzz about?
In the quest for sustainable and environmentally conscious practices, gardening enthusiasts and nature lovers alike are turning to a time-tested…
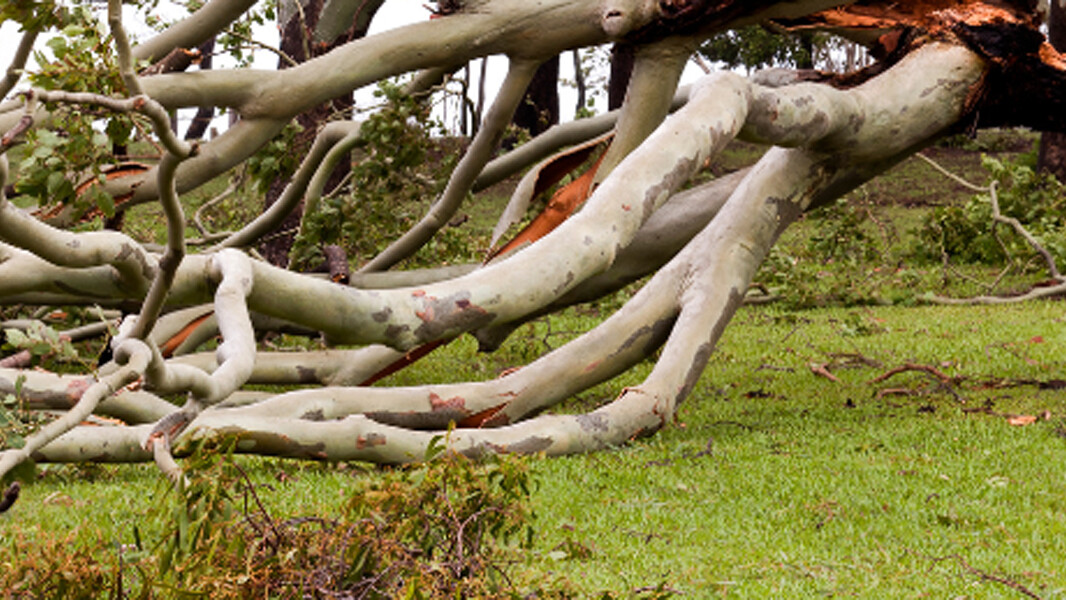
Why Living Trees Suddenly Fall Down
It is quite common that in winter or after big storms we wonder why living trees suddenly fall down. In June 2021 in Victoria, savage storms swept…

Climate Resilient Gardening
Introduction Gardeners in Australia are facing a race against time as they experience the growing impact of climate change in their own gardens. The…

Strawberries
I adore strawberries (Fragaria sp.), and one of my earliest memories is a birthday cake absolutely heaving under the weight of a sack full of home…